How to Build a Base for your Asgard Shed
Before you assemble a metal Asgard shed, you need to have a level base to sit it on. By building a good base, you’ll have a strong foundation to bolt your shed down to; if of course, this is something that is required. That’s not all a level base is important for; a level base will ensure that the doors are aligned correctly and open and close with the greatest of ease. Most of all you’ll be getting the best from your shed, by having a level base.
|
We’re all looking to save money wherever we can. This is why we asked our installation team member. Stuart, to share some advice on building the most cost-effective base possible. You can build a level base from numerous materials. However, for this guide, we’re going to look at making a concrete base, which is probably the most popular type of base for placing a shed on top. The dimensions for the base of the shed will be based on the dimensions of the Addition Bike Store, which has been described by Bike Radar as, “the best bike storage we have ever seen”. With the assignment in hand, Stuart got to work and explained to us the process of making a solid concrete base, for the Addition shed. |
 |
Stage 1: Where to put it?
“The Addition bike store is 1800mm x 800mm So I will be looking for space around 2 meters x 1 meter for the actual unit, then a further 2 meters in front of the unit to allow easy access. An area has been allocated already this is not an ideal area, there are many tree roots and lumps of rock in the way. The shed base needs to be bigger than the shed to ensure there is sufficient room to insert the optional ground bolts.”
Stage 2: Mark out the area
Measure twice cut once has always been my motto. So, I have marked out roughly where the shed base will be using wooden batons.
Making a cheaper frame
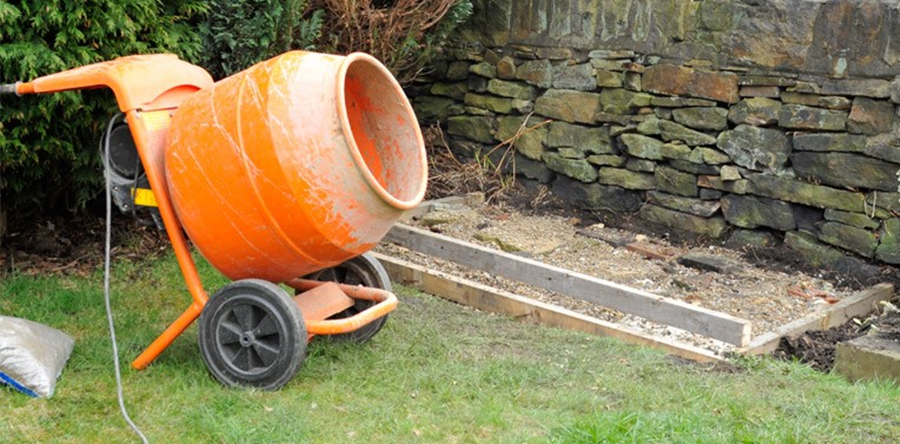
Palettes come in lots of standard sizes, this one happens to be 2.1m x 1m. There are hundreds all over the place and normally free (if you ask nicely). So, I simply knocked a palette apart with a hammer. I have a ready-made, perfect size frame no cutting, and most importantly no trip to B+Q on a bank holiday weekend.
Stage 3: Digging out your base
Ok, I'm happy with where my base will go. Next, I need to dig the area out with a spade.
"I dug a square of just over 2.1 m x 1 m at around 450mm deep. The ground is soft and the roots were no problem".
Stage 4: Putting my (free!) Frame into place
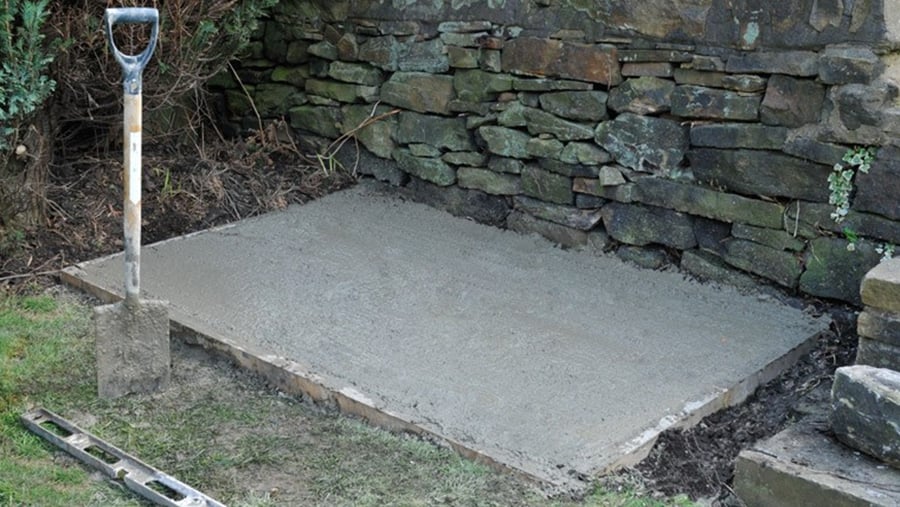
This bit requires a little patience and skill. It is vital these batons are all level. Starting at the left-hand side I simply knock this side down until it is level (using a spirit level to check). Next, I put the right-hand side in place checking it is level with the LH side using the spirit level again. Finally, the front and back batons are in place and the whole frame is leveled all round.
Stage 5: Mix and pour the concrete into the frame.
I have again cheated here! to keep the cost down I have used flat rocks from the garden and a bag of shingles. This reduces the amount of concrete needed to fill the frame.
Use this website to calculate how much concrete you need for your shed base.

Stage 6: Mix the concrete quite wet,
This means it will virtually level itself. A tap down with a long piece of wood to get the level spot on; that's it!
Equipment used:
- Mini mixer (optional but recommended) - Spirit level - Spade - Small trowel -Tape measure
- Materials used:
- 1 wooden pallet - Ballast (6 bags) -Cement (1 bag) - Pea shingle (1 bag) - Water (for cement)
- Total construction time 1 hour (overnight drying).
Disclaimer - Asgard Secure Steel Storage takes no responsibility for the content of this blog. This information is intended as a guide only. It is the responsibility of the reader to check all the facts before undertaking any works.
- If in doubt you must contact a registered and qualified builder for information.
- The average cost for a builder to lay a small concrete base is roughly £100 plus materials*.
* Please note: this price is correct at the time of writing.


