


How to Build a Shed Base with Patio Flags [case study]
Asgard sheds are precision-engineered in the UK from galvanised (weatherproof) steel, creating a strong and tough (and very heavy) collection of sheds designed to help to defeat the British weather. To ensure your new Asgard shed operates as it should with smooth door operation and easy locking, they need to sit on a firm, flat and level base.
A base should ideally be made out of concrete, paving flags or tarmac. This leads to our most common base questions:
‘How do I build a shed base?’
‘Do I need a professional to lay a shed base?’
‘How expensive is it to lay a shed base?’
To help you with building your shed base, an Asgard customer has recently shared their DIY method of building a base for their new Asgard Flexistore shed, this customer has chosen to use paving slabs as below. You can see another customer’s base (concrete method) here.
Building a shed base with patio flags case study
[Written by an Asgard Customer]
Hello Andy - As we discussed, here’s how I created a shed base using paving slabs for my Flexistore 5x7 shed. As mentioned, I’m no expert! I followed the B&Q youtube video as closely as possible with the tools I had. Here’s how I found it:
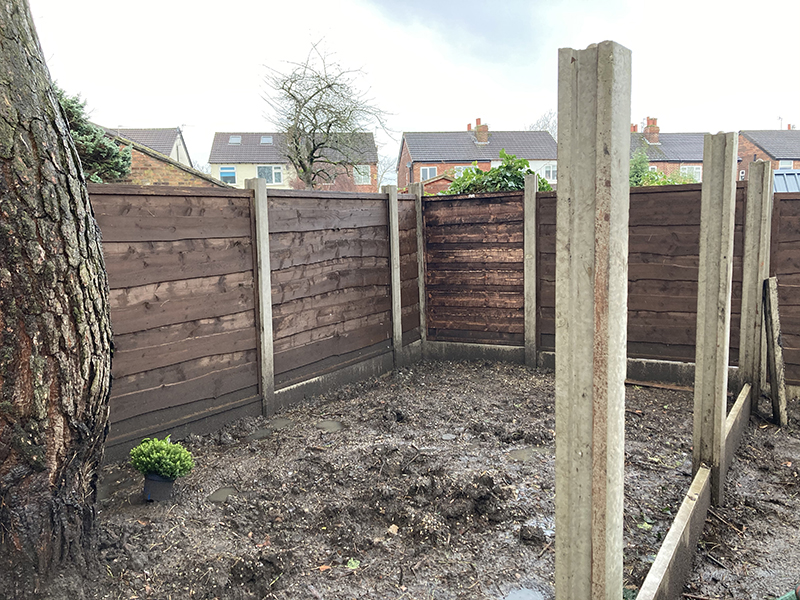 |
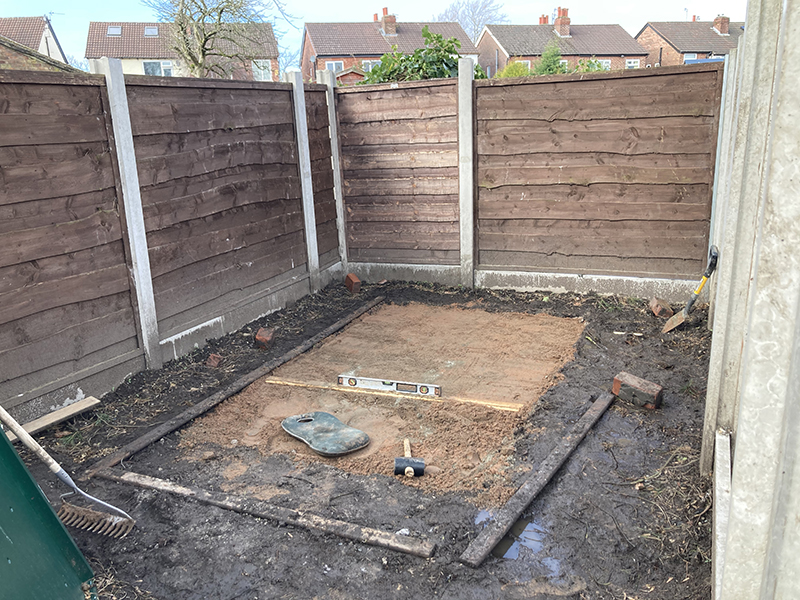
Step 1: Firstly I cleared the area, this was a huge task for us as it required moving back fence panels. We roughly leveled it, and added horticultural grit as it had poor drainage and we were good to go! This was during Covid-19, so as novices, we did it all through the power of the internet without skilled dads helping! |
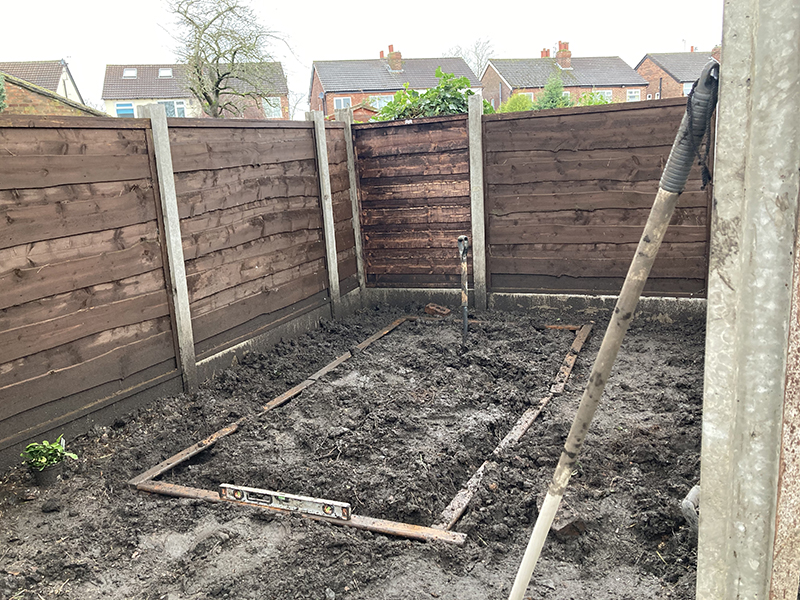 |
Step 2: We looked up the measurements of the 5x7 shed plus extra for the ramp, found some paving flags and calculated it was 4 flags x 6 flags for our shed, and marked it out on the ground with old pieces of wood, refining the levels as we went. Something I wish I’d done here, which I only really found out when I was laying the flagstones, was to make sure I added space for the gaps between the flagstones/ generally a bit of leeway. |
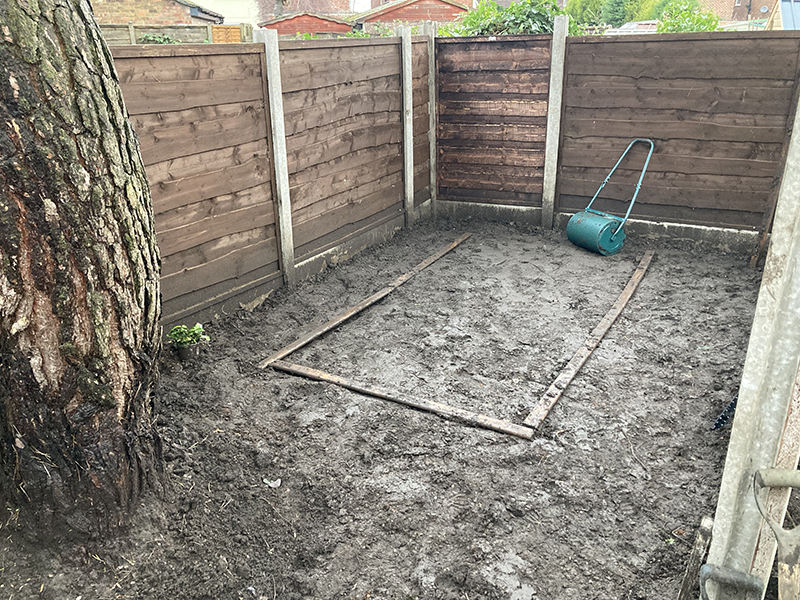 |
Step 3: As we added grit and did a lot of digging in the area, we flattened it out with a roller to make sure it was compressed and sturdy enough. As you can see, it was getting pretty muddy at this point - tip (you probably don’t need) is to do it in spring/summer - not autumn/winter! |
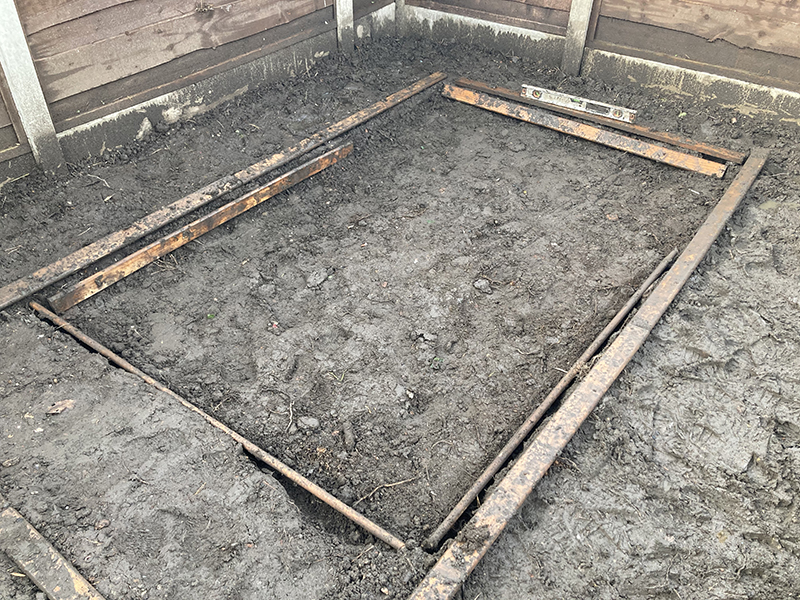 |
Step 4: Next we calculated the 50mm hardcore level + 25mm sand/cement mix + 30mm flagstone depth and dug down to about 95mm as per the video. I wanted a bit of paving flags showing so I didn’t go down the full amount. This kind of worked, but by the time it was compressed down, we’ve ended up lower than we hoped, so I’d say be a bit cautious about this. |
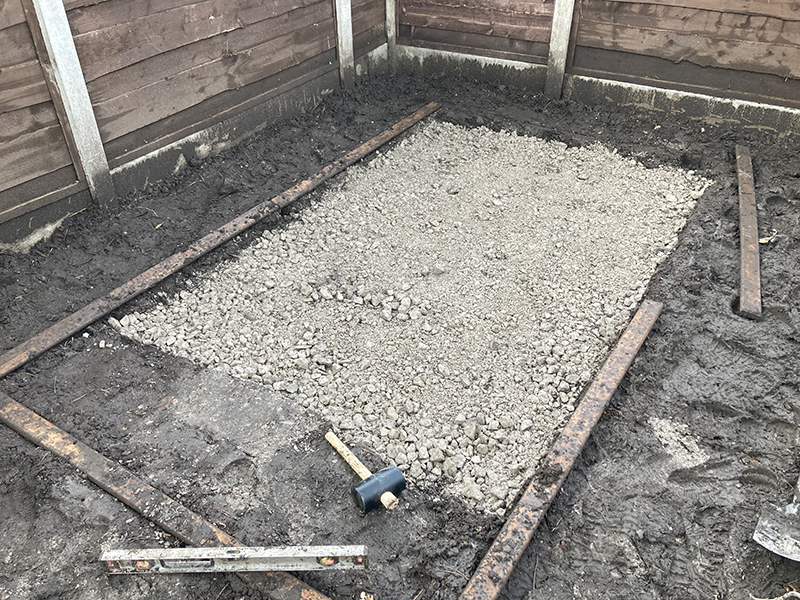 |
Step 5: We placed the hardcore down as calculated and rollered over it to compress it. B&Q recommended levelling it and compressing it with a wooden board and mallet, which we did as well. This is where we had to stop over winter - it was just too boggy and the stones didn’t solidify. So we popped a tarp over it and waited until it created a solid footing. |
 |
Step 6: We laid the sand and cement mix on top to the depth of 25mm, compressing it down and levelling while we went. I also checked vertically and horizontally that it was level. |
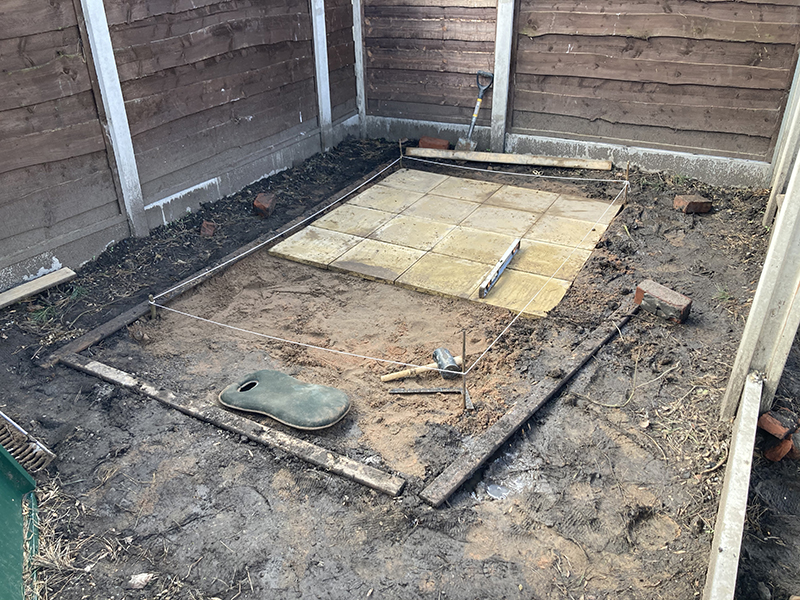 |
Step 7: We laid the flagstones down, struggled with getting the first row straight and level. This is where the extra space around the plot would have come in handy. I didn’t have a builders square or stakes as the video suggested, and it would have helped. I found it useful to have a little leveraging tool to help get the paving slabs back up if they’re placed wrong (I used a metal ruler). |
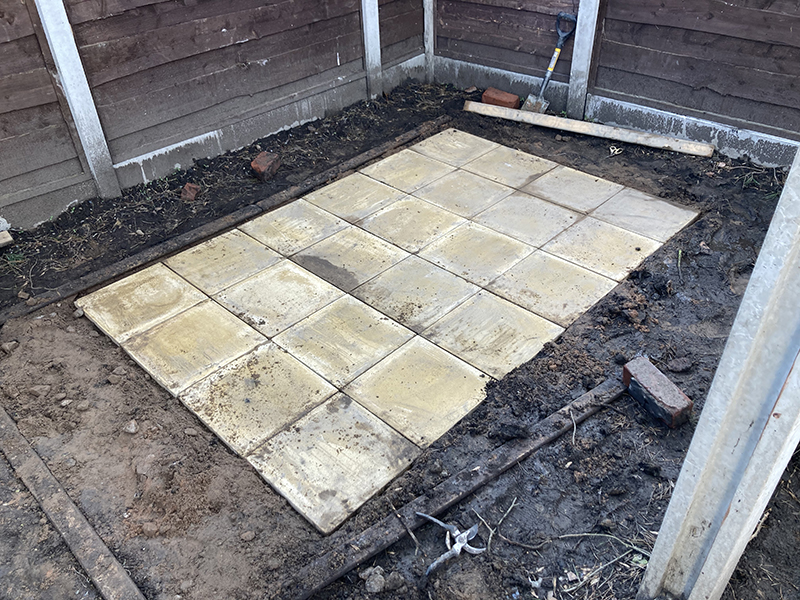 |
Step 8: Finished laying the flagstones and pushed down a stronger sand and cement mix down in between the flagstones with a trowel - and done! Now to build the Asgard shed which will highlight if I’ve made any levelling errors! |
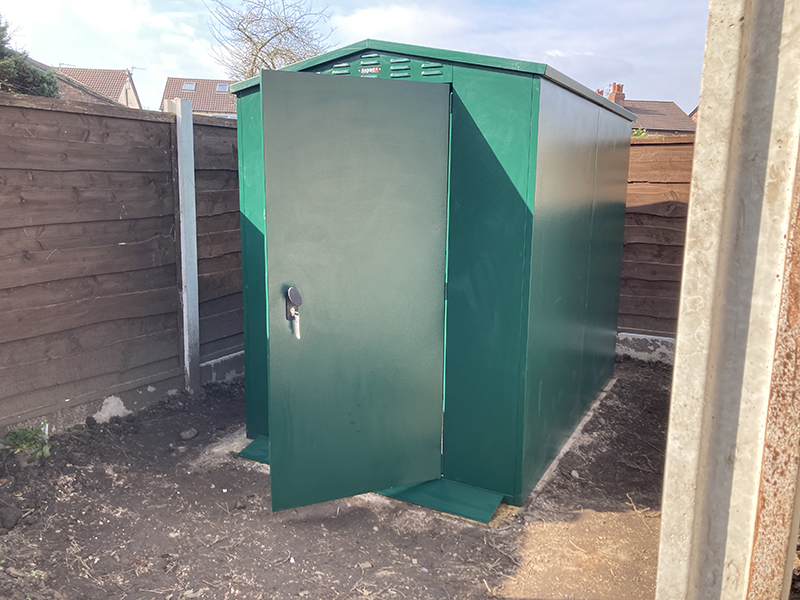 |
Step 9: The shed’s built, went up relatively easily in comparison to our DIY skill level! I had to use 1 or 2 packers in the end just to get the door running smoothly but all in all, it went well. |
How much did it cost to put the shed base down?*
£30 - Roller [Amazon]
£30 - Horticultural Grit for drainage [Wickes]
£3 - Rubber Mallet [B&Q]
£64 - 400mm x 400mm basic paving slabs [B&Q]
£13 - Sharp sand [B&Q]
£4 - Cement [B&Q]
£50 - Subbase Gravel [B&Q]
Tools and equipment: We also needed a rake, gloves, kneeling pad (essential!), mixing bucket, scissors, medium-large spirit level, tape measure, and trowel.
Shed Base Cost: Around £200
Time spent: Way too long, learned a lot!
Do you need a professional: If you’re DIY savvy, then no, as long as you keep checking levels it’s more than do-able
Asgard takes no responsibility for the hints and tips in this section.
*2021 pricing


